
Создание высококачественных видео требует не просто хорошей камеры и навыков монтажа. Одним из важнейших элементов, который может как улучшить, так и испортить ваше видео, является освещение. Правильный свет улучшает настроение, выделяет объект съемки и гарантирует, что ваш материал будет выглядеть профессионально и безупречно. Снимаете ли вы интервью, обучающие ролики или творческие проекты, освоение надежной схемы освещения имеет важное значение.
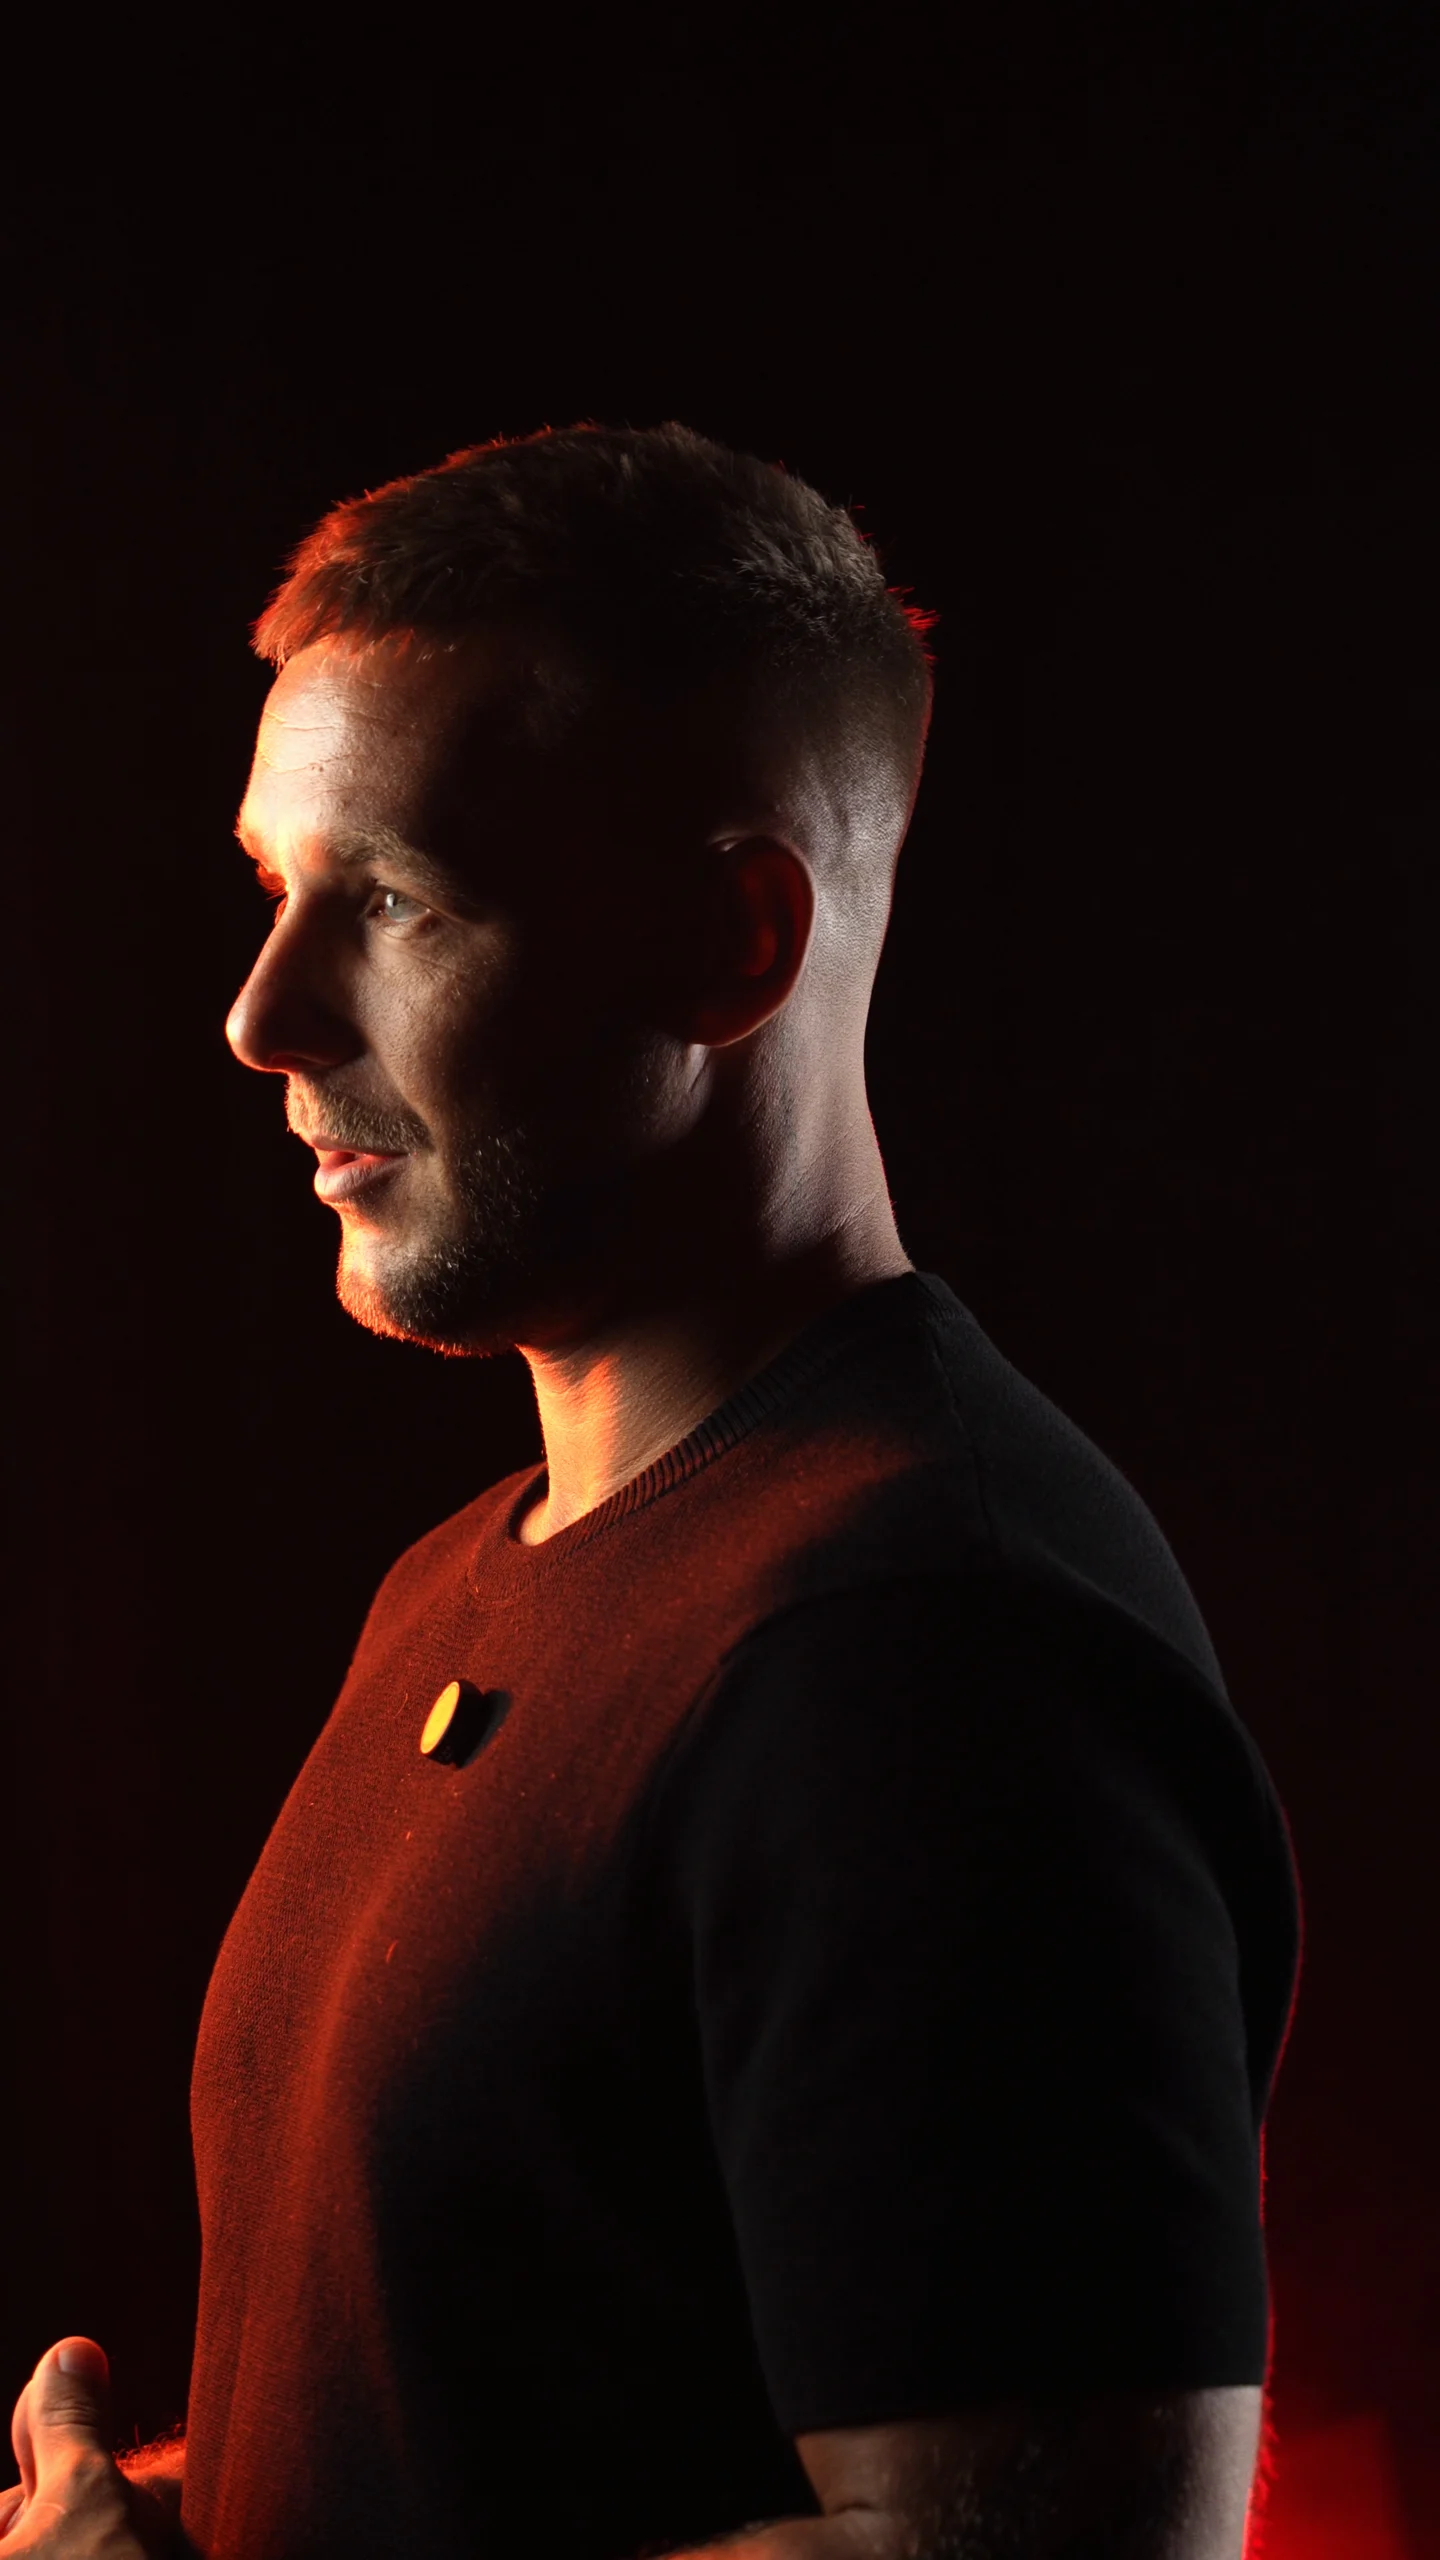
Прежде чем углубляться в сложные техники, важно понять фундаментальные принципы видеосъемки. Цель — четко осветить объект, создавая при этом глубину и объем. Распространенная и эффективная техника — трехточечный свет, она включает:
Эта схема уравновешивает свет и тень, выделяя объект без резких контрастов.
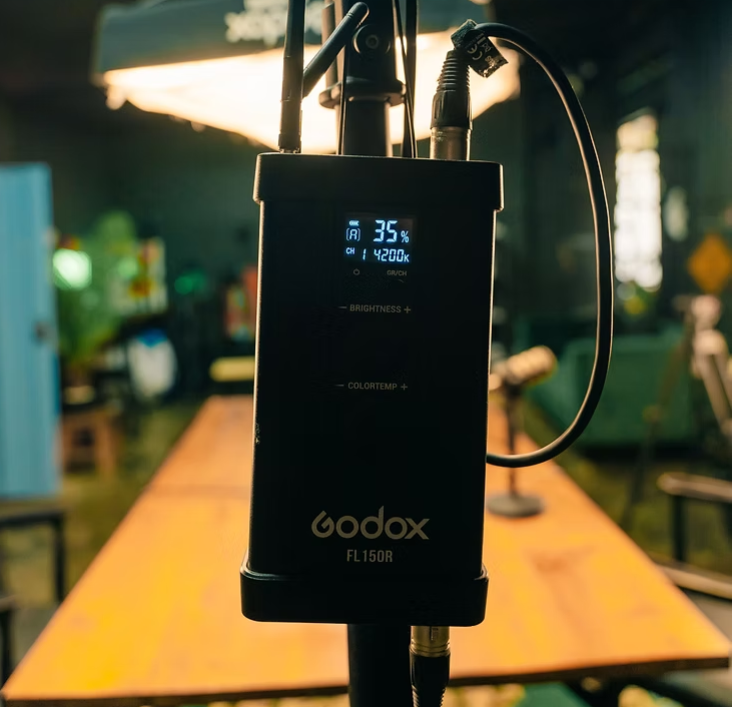
Выбор подходящего осветительного оборудования зависит от вашего бюджета, пространства для съемок и типа создаваемых видео. Вот несколько популярных вариантов:
При покупке света обратите внимание на такие функции, как регулировка цветовой температуры (измеряется в Кельвинах), чтобы соответствовать окружающему освещению или создавать определенное настроение. Например, 3200K дает теплое, “домашнее” ощущение, в то время как 5600K имитирует дневной свет.
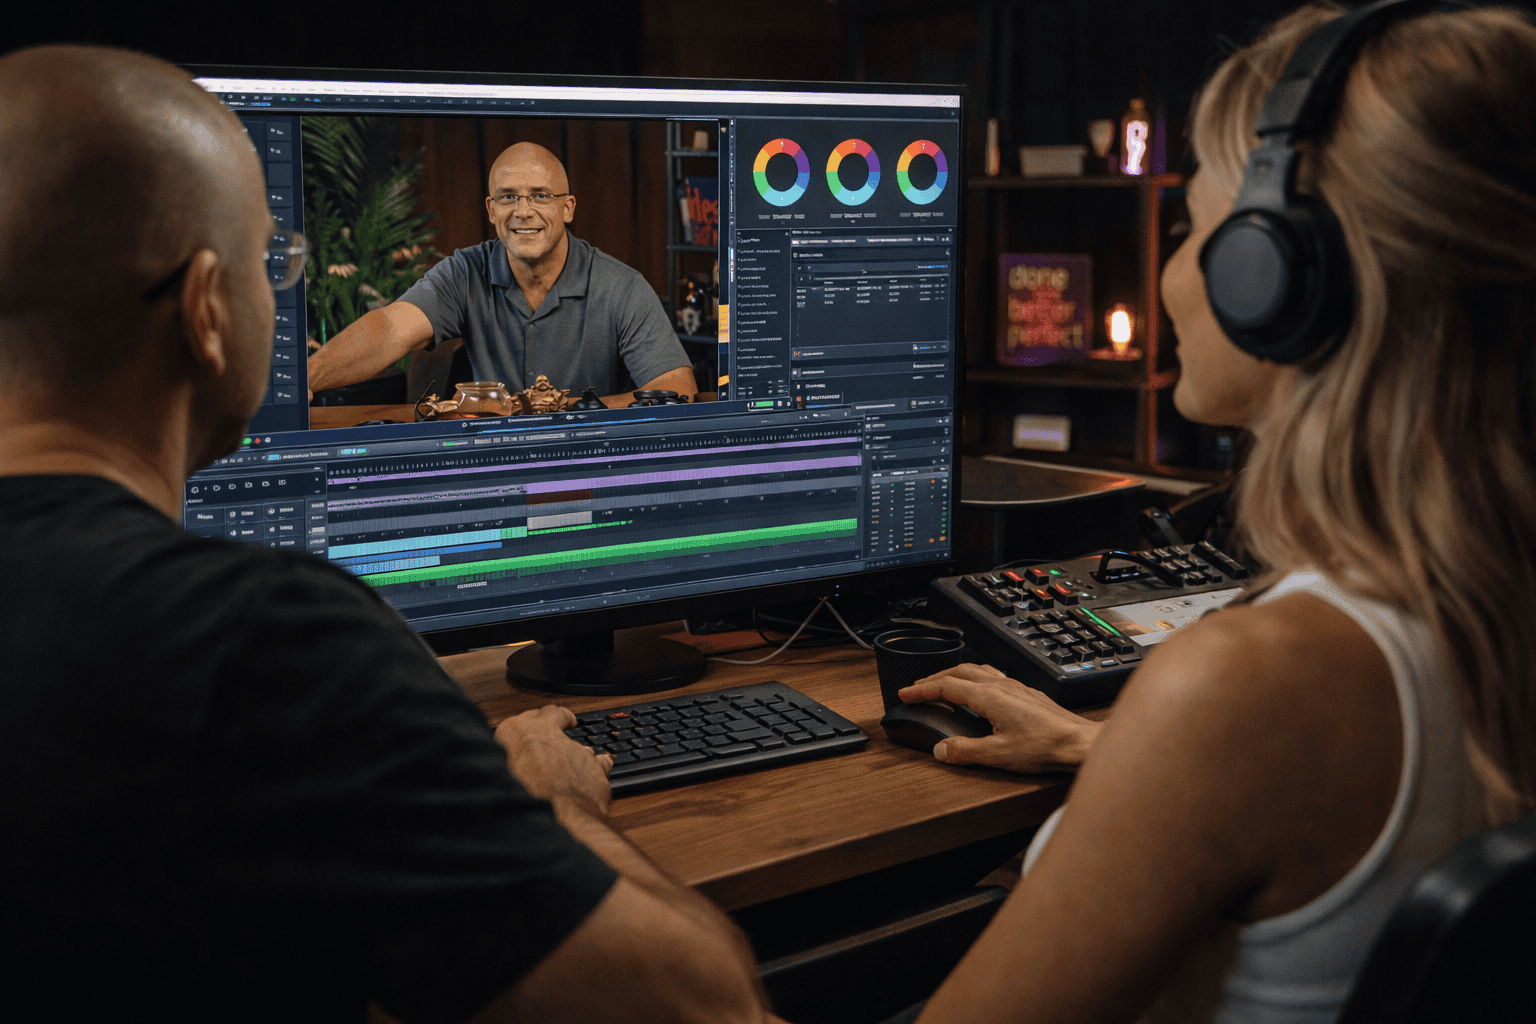
Блогеры часто полагаются на универсальные и доступные решения для улучшения качества видео. Наиболее распространенные инструменты включают:
Для начинающих простая кольцевая лампа в сочетании с естественным светом может значительно улучшить качество видео без больших вложений. Более продвинутые создатели часто строят полноценную трехточечную систему освещения для достижения кинематографических результатов.
Потребности в освещении меняются в зависимости от типа видео.
Используйте трехточечную схему, чтобы выделить лицо и создать глубину. Избегайте жестких теней с помощью рассеянного рисующего и заполняющего света. Расположите контровой свет так, чтобы отделить объект от фона.
Снимайте в “золотой час” (ранним утром или ближе к вечеру) для мягкого, теплого естественного света. Используйте отражатели, чтобы направить солнечный свет и заполнить тени. Избегайте съемки под прямыми полуденными лучами, чтобы не получить жесткие тени и прищуренные глаза.
Используйте мягкий, ровный свет, чтобы подчеркнуть детали продукта. Применяйте лайт-кубы или лайт-тэнты для мелких предметов, чтобы устранить тени.
Играйте с контрастом и тенями, чтобы задать настроение. Используйте цветные фильтры или гели, чтобы вызвать определенные эмоции. Экспериментируйте с контровым светом и силуэтами для драматического эффекта.
Для достижения безупречного результата требуется внимание к деталям и правильные инструменты. Инвестирование времени в изучение того, как управлять светом, значительно повысит качество ваших видео. Тем, кто хочет модернизировать свое оборудование, стоит рассмотреть варианты профессионального света, который обеспечивает качество и гибкость, необходимые для различных проектов.
Освоение настройки освещения для видео — это путь, сочетающий технические знания с творческими экспериментами. Начните с основ, инвестируйте в универсальное оборудование и адаптируйте свой свет под нужды каждого проекта. С практикой ваши видео станут более захватывающими, профессиональными и визуально привлекательными.
Помните, что хороший свет — это фундамент убедительного видеоконтента.